|
1. Select Photos-You can select multiple photos at a time quickly by dragging your finger across the screen to highlight an entire row and then straight down to select multiple rows. This is particularly useful for moving or deleting photos in bulk.  2. Formatting-If you're like me and have to have all textboxes/shapes/pictures aligned and even, then this tip will change your life! I give all credit to Amy Banas for showing me this trick! Start by selecting all of the items that you would like to align. Then right-click and choose 'Align Vertically' to get them the same height on the page. Choose 'Distribute > Horizontally' to create even space between the items. It's like magic!  3. Shortcut-No matter where you are on a webpage, use Command + L to highlight the URL. Combine this with Command + C (copy), Command + K (link), and Command + V (paste) for some truly efficient work!
0 Comments
1. Google Form Default Settings-You can now set default settings for your Google Forms. These settings will be applied to all new forms and can be changed as needed. For example, I collect email addresses with most of my forms (unless they are anonymous surveys), so it makes sense to set 'collect email addresses' as my default and change it when I want to. To change these settings, open a form, go to the three dots in the top right-hand corner and click 'Preferences.' 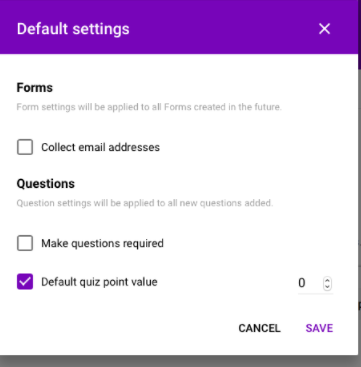 2. Comment on PDFs in Google Drive-Google Drive has just released the ability to add comments to non-Google documents like PDFs and photos. To do this, open the document in Drive and click on the comment icon in the top right-hand corner. 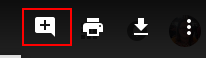 3. More Efficient Grading in Schoology-After reviewing student work and deciding on which feedback to provide, there is a faster way of inputting grades and comments than going one by one. If you click on the 'Edit Grades' icon within an assignment, it will take you to a screen that has all of the students listed with their scores and comments available for editing. I personally prefer having this screen open on my laptop and have the student submissions open on my iPad. 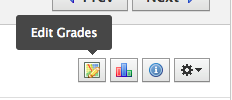 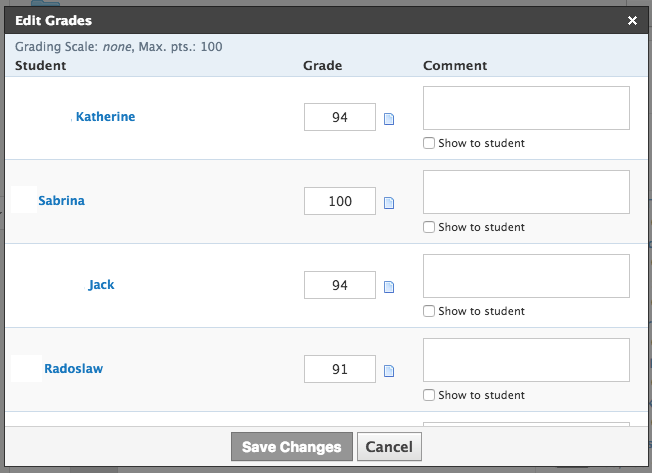 1. Present on External Display-You can control a Google Slides presentation on your computer from your iPad. All you have to do is connect your computer to the projector, connect your iPad with Reflector, and open up your Google Slides. When you hit the present icon it will ask if you'd like to present to an external display. This will set up a presenter mode on your iPad and expand your presentation into full screen on your laptop. You can then walk around the room and switch slides on your iPad.  2. Pen Tool-While presenting your Google Slides, you can use the new pen tool to mark your slides for the group. This could be especially useful for annotations, DOLs, and math lessons. If you include an empty white slide, then voila, you have a digital whiteboard. You do need to update your Slides app in order for this feature to appear. 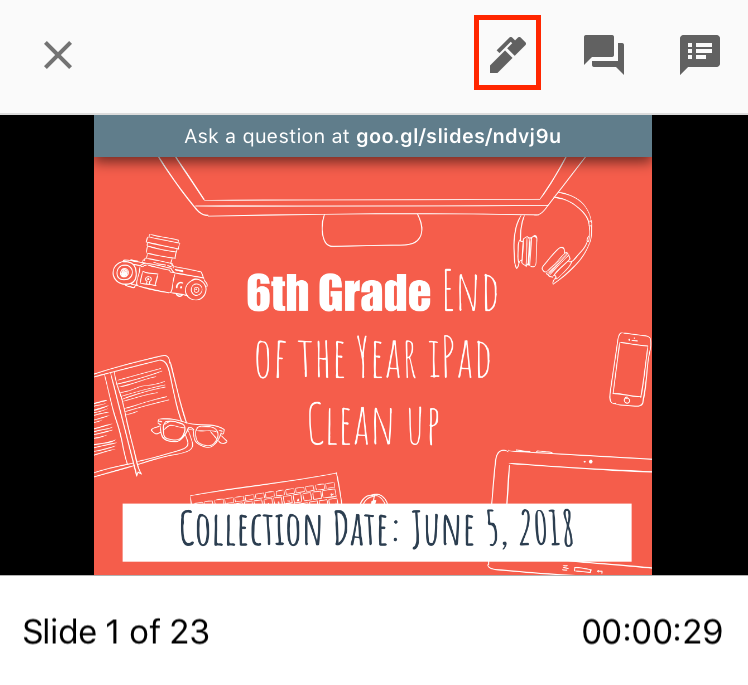 3. Q & A Tool-If you turn on the Q & A tool, then students can submit questions throughout your lesson. Students can use this to ask clarifying questions or as a way to check-in with their thinking throughout the lesson. 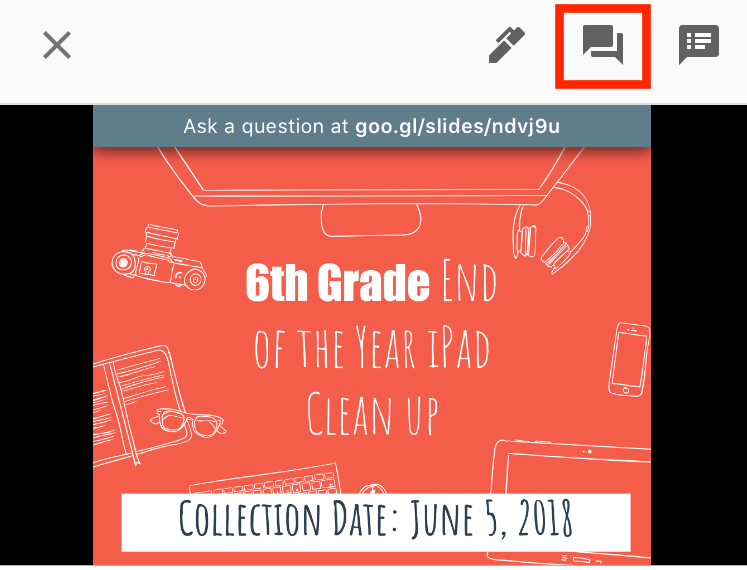 Combine all three of these tools and you have a pretty engaging lesson! Add in any of the record features from Reflector Teacher/QuickTime while you're teaching and you now have a helpful resource or flipped lesson done.
|
Archives
March 2020
Categories
All
|
 RSS Feed
