|
1. Exiting Split Screen-If you were able to try out the Split Screen from last week, you might have struggled to get back out of it-sorry! All you have to do is click the green button of either of the windows. This will exit the full screen and bring that window back to your normal desktop. The tricky part is that your other window is left on the other desktop! You can go get it by clicking control + right arrow and then you can click that green button to bring it back.
2. Multiple Desktops-Macs give you the option of having multiple desktops, this is called Mission Control. This is where your windows go when you put them in split-screen. Having separate workspaces can be helpful if you are going between projecting and grading and don't want to display student information to the class. Multiple Desktops can take a bit to get used to, but they can be helpful keeping your work organized. Take a look at this guide if you're interested! 3. Simple English Wikipedia-Wikipedia has started a new branch of their website that uses simple English to explain concepts. This is perfect for students who need to gather background knowledge on a topic. The page functions the same as Wikipedia. You can find it here: https://simple.wikipedia.org/wiki/Main_Page Thank you to Stephanie Ritter for showing me this resource!
0 Comments
1. Split Screen-You can set up a quick split-screen on your laptop, just like you can on the iPad. To do this, hold down the green button in the top left-hand corner and your screen will divide in two. Drag your window to the side you would like it to be displayed on. Then choose the window you would like to appear on the other side. If you're interested in learning more about this feature, go here! 2. Gmail Labs-Just like the Google Calendar Labs, there are Labs for Gmail! Refresher: a lab is a new feature or add-on that you can try with Gmail. You can find the labs when you click on the gear symbol in the top right-hand corner > settings > labs. Some of my personal favorites are the Google Calendar gadget and the Preview Pane. 3. Gmail Default-Have you ever clicked on someone's email address on the Internet and your computer automatically opens up AppleMail? If you do not use AppleMail, then set Gmail as your default email. When in Chrome, open up Gmail. Then, click on the icon shown below (it's in your URL bar) and click on 'Allow.' 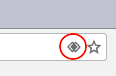 1. Google Calendar Labs-Labs are new features that Google has released for you to try. You can find the Labs when you are in Google Calendar, under the 'Gear' symbol, and 'Labs.' I have found several that I love! I particularly like 'Hide morning and night' and 'Next meeting.' 2. GoogleSheets-Have you ever pasted student names into GoogleSheets and spent way too long cutting and pasting their names into two separate columns? There is a way to tell Sheets how to split your column into two! Follow the directions here to find out how. 3. iPad Parking & Charging Zone-Mary Beth has put together an iPad Parking and Charging Zone in the Library next to the color printer. This area will be used as a charging area for students before school or during lunch and as the iPad lost and found. If a student loses an iPad, please send them down to the Library so we can help track their device down. If you or a student finds an iPad, please send it down to the Library immediately (or call and we will come get it). This will help us get the iPads to the correct students as quickly as possible! Thanks, Mary Beth! 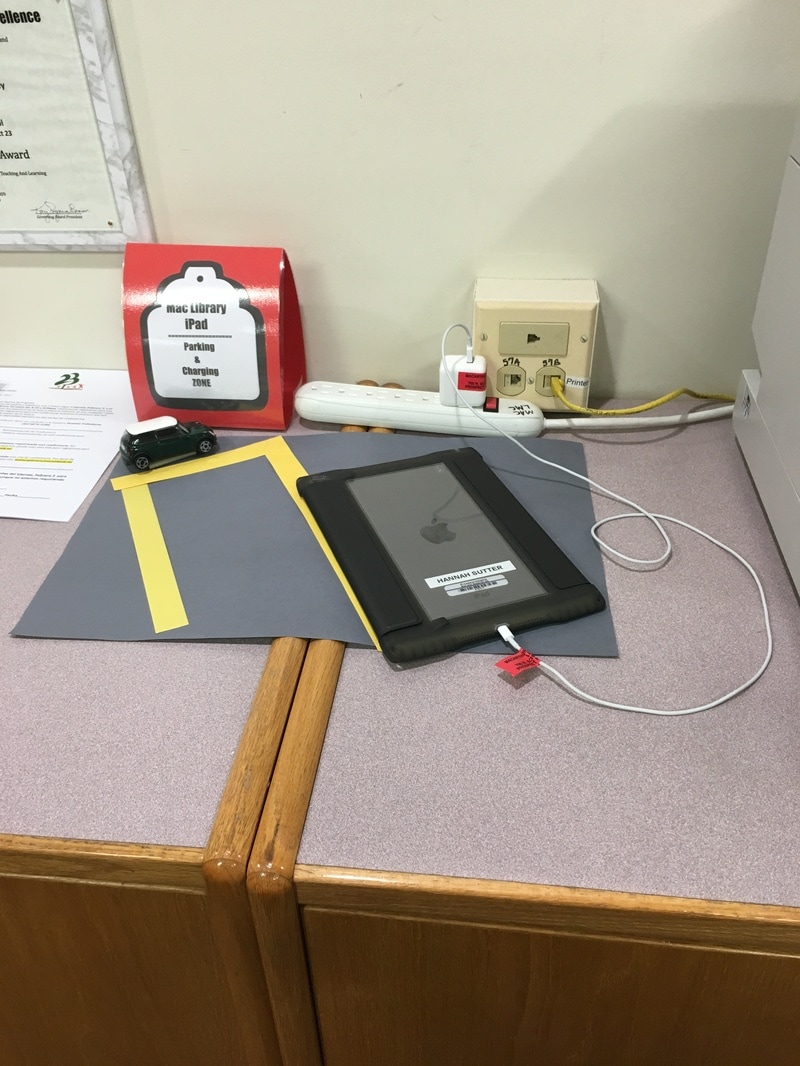 1. Team Drives-You may have noticed a new icon in GoogleDrive called Team Drives. This is a really neat and new (it's still in beta testing) feature, but it will take time and planning to start using it. This means, that I am going to ask that you do not start using this feature at this time. I will let you know as soon as we are ready to use this feature! 2. URL Bar-If you use Chrome, your URL bar can be a helpful tool! The URL bar is the space above your bookmarks where website addresses are located. If you want to search Google for something, you can type your search words straight into that box and hit return. You can also search for GoogleDrive items by typing any portion of the title into the box. This won't show a complete list of every document with that word, but rather the most used. You can even type math problems and it will solve it for you!  3. Freeze Button-Most projectors have a Freeze Button on the remote. This button allows you to freeze whatever image is displayed and keeps it projected, even if you navigate somewhere else on your computer. This is helpful if you'd like to keep something displayed to the class, but use your computer for something else. 1. Schoology Document Viewer-At the end of the year, Schoology snuck in an update to their document viewer. This new viewer makes the web browser version better to look at and use. There are a few new helpful tools, so I encourage you to take a look at their sneak peek video!
2. Right Click-One of the new features in the Schoology Document Viewer is the use of a right click menu on your laptop. Right click is one of my personal favorites! If you use a USB mouse, then right click is the button on the right-hand side of the mouse. For a laptop, it's a little different. You can check your settings by going to the Black Apple> System Preferences> Trackpad> Point&Click> Secondary Click. By checking the box and clicking the arrow, you can change your settings. I personally like to have the bottom right-hand corner of my trackpad set as my right click. Others like to click with two fingers. You could also just hold control when you click and you will get the same menu. It all depends on what you like! 3. Schoology Submissions-You may have noticed that some of the students have a red X across their screens when looking at previous Schoology submissions. We are looking into why these iPads did not update automatically, but in the meantime, the students can delete Schoology (it's web-based so all of their info is safe!) and then reinstall it from Self Service. |
Archives
March 2020
Categories
All
|
 RSS Feed
