|
1. Explore Icon-Google has introduced an 'Explore' icon for Google Docs, Sheets, and Slides. When you click on this icon, it will populate information that it thinks you might find helpful. In Docs, that might mean Google searches related to your topic or clipart that fits your theme. In Sheets, this means formatting, formulas, and charts that it thinks you might find helpful. Try out this feature next time you're in a Google file! 2. Class Quick Checks-Have you thought about pairing Apple Classroom with Explain Everything to create a whiteboard quick check activity? Put a question up on the projector and have the students answer in Explain Everything. If there's an answer that you would like to share, click on that student's screen on Apple Classroom and display it to the class. You could use this combo for all types of activities! If you're reviewing vocab or stems, you could play a game of Pictionary where a student is drawing or using emojis while projecting through either Apple Classroom or Reflector. 3. Public Resources-Have you ever explored the Public Resources in Schoology? I was browsing for a few minutes today and found some awesome things! A few that I really liked were a 'How to Type Math Symbols in Schoology' document for students and a whole folder with Star Wars badges to give to students for great work! You can find them under 'Resources' > 'Public' and they are listed starting with the most popular. You can create a search based on subject or grade level. Be aware that when you add the resource, it will be added to your 'Downloaded' section of your resources until you move it manually. Keyboard Tip: I know I've mentioned it before, but it's worth repeating! Use Shift to select multiple documents at once. Click on your first file, then hold shift, and click on the last file. This will highlight all of the files in between. From here, you can let go of shift and move all of the files at the same time.
0 Comments
1. Google Drive Quick Access-Google just released a feature for Google Drive on the iPad called Quick Access. This is the bar of documents that has appeared at the top of the 'My Drive' section. Google chooses these documents based on when you last opened them and how often you view them. I would guess that Google will be expanding this feature to the desktop version of Drive in the future. 2. Schoology Rubrics-Schoology Rubrics are a wonderful and easy way to assess students on their work. Check out this article by Schoology for 5 new ways to use rubrics! One of my favorites is using rubrics for participation. This could be especially useful for our Exploratory classes who use weekly points! 3. Drive Keyboard Commands-You can search for Keyboard Shortcuts in Drive by clicking on the gear symbol in the top right-hand corner and then clicking 'Keyboard Shortcuts.' This gives you a whole list of commands that are made just for Google Drive. Keyboard Tip: This week's Keyboard Tip comes from #3 above! When you are in Drive, tap the / key to immediately send your cursor to the search bar! So handy! 1. Spam Folder-Are you missing student messages from Schoology because they are ending up in your Spam folder in Gmail? Create a filter to stop those messages from skipping your inbox! While in Gmail, click on the gear symbol in the top right-hand corner and choose 'Settings.' At the top of the page, click on 'Filters and Blocked Addresses.' Then choose 'Create a new filter.' Here, you can paste @inbound.schoology.com into the 'from' box and click 'Create a filter with this search.' Now you can click the checkbox that says 'Never send to spam.' You can do this with any other type of email that you want to stop going into your spam folder as well. 2. Formatting-When copying and pasting from one document to another, you can sometimes end up with fonts, colors, or formatting that you don't want. Instead of going through and changing each of those settings individually, you can use the Remove Formatting button. This button can be found under the 'A' in Gmail or in the toolbar on Google Docs/Slides. Highlight the section you'd like to change and then click the icon shown below. 3. Vertical vs. Horizontal Videos-As we approach the end of the year, you may have moments that you would like to record on your iPad or iPhone. When taking video, you should ALWAYS turn your device so that it records horizontally. 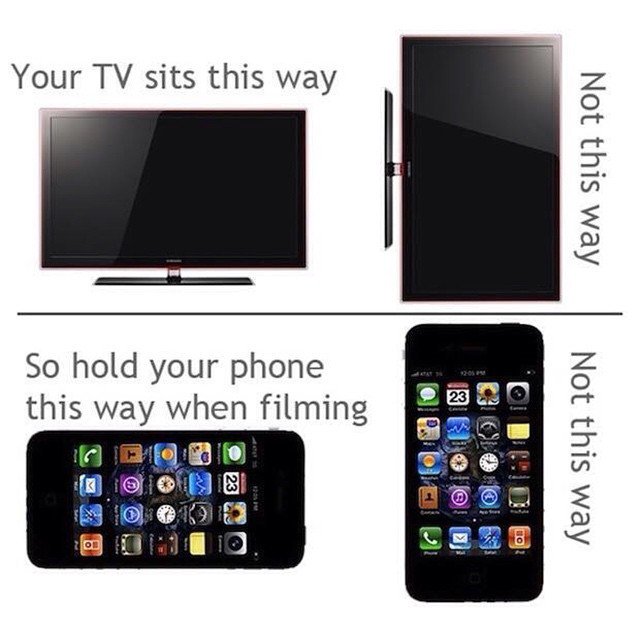 |
Archives
March 2020
Categories
All
|
 RSS Feed
